
Securing an NBI Clearance is one of those unavoidable tasks for millions of Filipinos every year — whether for a new job, a visa application, local government requirements, or legal transactions. The good news is that the days of showing up at NBI offices at 5am and hoping for the best are largely over. The NBI now operates a fully online appointment system that lets you book, pay, and manage your schedule from your phone or computer. Here’s how the whole process works, step by step.
What Is NBI Clearance and Who Needs It
NBI Clearance is an official document issued by the National Bureau of Investigation that certifies whether or not an individual has a criminal record in the Philippines. It’s one of the most commonly required documents in the country — needed for:
- Employment (local and abroad)
- Visa and immigration applications
- Business permit applications
- Legal proceedings
- School or academic requirements
Both Filipino citizens and foreign nationals residing in the Philippines can apply for NBI Clearance.
Step 1: Create an NBI Account
Before booking an appointment, you need a registered account on the NBI Clearance online portal. Go to the official NBI website and look for the clearance application section.
Click “Register” and fill in your personal details:
- Full legal name
- Date of birth
- Gender
- Address
- Email address
- Contact number
Create a secure password and verify your email address through the confirmation link sent to your inbox. This account will hold all your application history and appointment details going forward.
Step 2: Fill Out the Application Form
After logging in, start a new clearance application. You’ll be asked to provide:
- Purpose of application (employment, travel, legal, etc.)
- Personal information (same as registration)
- ID type you’ll present at the NBI office
Double-check every field before proceeding. Your name must match exactly what appears on your valid ID — even a missing middle initial can cause problems during verification at the NBI office.
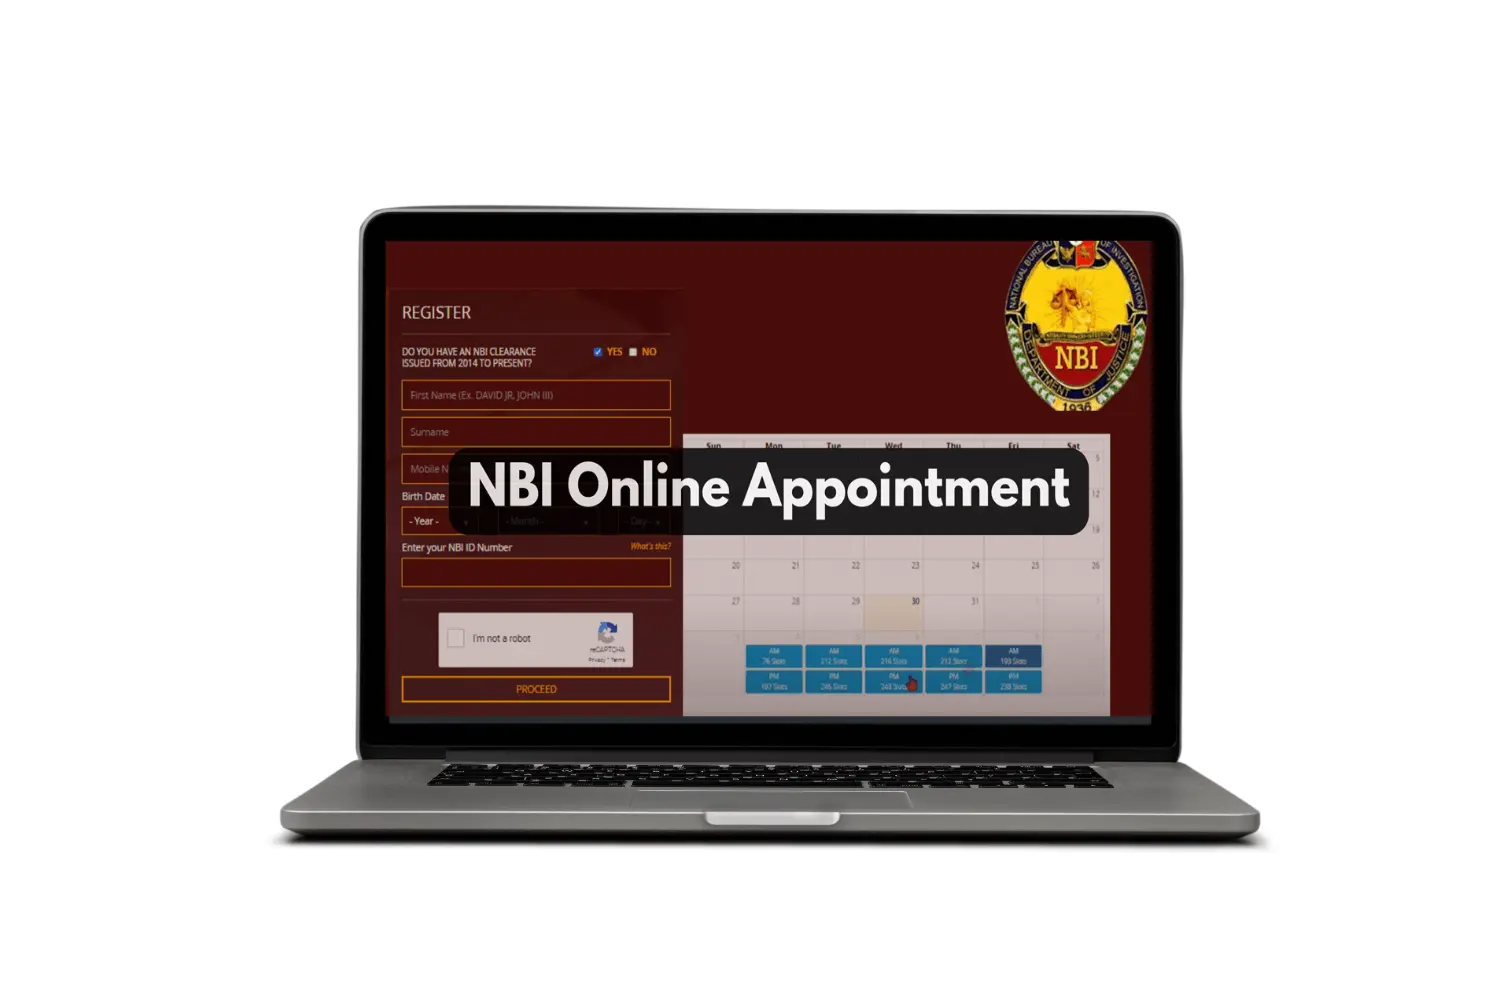
Step 3: Choose Your NBI Branch and Appointment Slot
Once the form is complete, you’ll be directed to the appointment scheduling page. Select:
- NBI branch — choose the one most convenient to your location
- Appointment date — available dates will be shown on a calendar
- Time slot — morning and afternoon slots are available depending on branch capacity
Popular branches like Taft Avenue (Manila), Robinsons Malls, and SM-based satellite offices fill up quickly — especially on weekdays. If your preferred slot isn’t available, check back regularly as cancellations open up slots throughout the week.
For a streamlined booking experience, go directly to nbi clearance appointment to access the official scheduling portal and lock in your slot before it’s taken.
Step 4: Pay the NBI Clearance Fee
After selecting your appointment, you’ll be directed to the payment page. The NBI Clearance fee is payable through multiple channels:
- GCash — fastest option, instant confirmation
- PayMaya / Maya
- 7-Eleven (via cliqq kiosk)
- Bayad Center
- Landbank, UnionBank, and other partner banks
Payment must be completed before your appointment is confirmed. Once payment goes through, you’ll receive a confirmation email with your reference number and appointment details. Save this — you’ll need it on appointment day.
Step 5: Show Up on Appointment Day
On your appointment date, arrive at your chosen NBI branch 15–20 minutes early. Bring:
- Your appointment reference number (printed or on your phone)
- Your original valid government-issued ID
- Your payment receipt or confirmation
Present these at the entrance or initial queue counter. You’ll then be directed through biometric capture (fingerprinting and photo), document verification, and clearance printing.
Step 6: Receive Your NBI Clearance
For applicants with no existing records in the NBI database, clearance is typically released on the same day — often within an hour of your appointment time. For names with “hits” (matching records in the system), additional processing time is required. You’ll be given a separate slip and asked to return or wait for further instruction.
Can You Do This From a Piso WiFi Connection?
Yes — the NBI online portal is lightweight and mobile-friendly, making it fully usable even on a Piso WiFi connection. The pages are not data-heavy, and the entire booking process from account creation to payment confirmation can be completed in under 20 minutes on a basic connection.
This is especially useful for applicants in areas where home broadband isn’t available but Piso WiFi is — which covers a significant portion of the Philippines.
Also Register Your DITO SIM While You’re Online
Since you’re already handling digital tasks, if you have a DITO SIM that hasn’t been registered yet, do it now. The DITO SIM Registration portal is similarly lightweight and can be completed in minutes from any internet connection — including Piso WiFi.
Frequently Asked Questions
Can I reschedule my NBI appointment? Yes. Log in to your NBI account and look for the rescheduling option under your current appointment. Note that fees may not be refundable if you cancel entirely.
Can I walk in without an appointment? Some branches accept walk-in applicants during off-peak hours, but this is not guaranteed. Online appointments always take priority, so walk-ins may wait significantly longer or be turned away.
How long is NBI Clearance valid? NBI Clearance is valid for one year from the date of issue.
Can someone else pick up my clearance? In some cases, yes — with an authorization letter and the representative’s valid ID. Check with your specific branch for their policy.
Conclusion
Booking an NBI appointment in the Philippines is now fully digital, fast, and manageable from any device — even from a Piso WiFi connection. Create your account, fill out your application, choose a branch and slot, pay online, and show up prepared. The whole process is designed to save you time and eliminate the chaos of walk-in queuing. Book your slot early, bring the right documents, and your NBI Clearance will be in your hands the same day.